
The finished product!
You might remember last week’s future project from our favorite things, which was a chandelier that was destined for our kitchen once it had been re-wired. The best thing that came out of the #FavoriteThings blog post for me was a group of virtual friends that will peer pressure me to complete projects in a timely manner. I think it was a day or two after the Favorite Things post that host Victoria Barnes was peer pressuring me via Twitter to post photos of the chandelier.
So I stayed up until 2 AM, two nights in a row, learning how to rewire my prize, and then struggling through the actual project of shoving wires through S-curves (the secret: start with the sharp curve first). The most time consuming part was figuring out what needed to be done. I start most of my projects at Miller’s Hardware, where they can usually set me in the proper direction on a project right from the start. My first trip there, I was armed with just a photo of the socket, and they had no idea what I needed, and asked me to bring the fixture with me. But when I returned with the fixture, they still couldn’t tell what I needed because they couldn’t see the bottom of the light bulb socket. They advised me to contact Hansen Electric, which was totally unacceptable to me. I wanted to rewire this sucker myself, dammit, and I had all the knowledge of YouTube behind me! What could go wrong? I mean, if I’m doomed to let someone else do it, I’ll screw it up good trying first.
I figured if I could cut the wires to the chandelier arms, I’d be able to spin the arm wires out and look at the sockets. So I started unscrewing the entire fixture, keeping track of where things went using an egg carton (by the way, my husband was right, just don’t tell him…my life was made easier because of the photos I took prior to dismantling this thing, so I recommend extensive photo documentation IN ADDITION to egg cartons). Once I had the top and bottom unscrewed, I clipped the wires (point of no return!) and voila! Those sockets came out with very little effort, and even better, seemed in good enough shape that I didn’t have to replace them, just the wires.
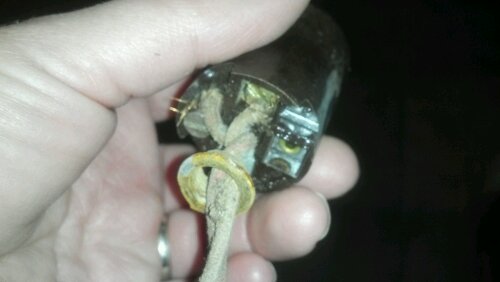
Wire, bad. Sockets, good.
I got the wires shoved through with no small amount of convincing, and learned that my blunt force method of wire stripping only serves to break wires. Eventually I got everything capped and taped together, and then stacked back up and screwed back together, and today after several days of “Hey, we should hang that light tonight!” it is finally done and looking amazing in my kitchen. $60 fixture, less than $10 of materials, some glass cleaner, and I have a gorgeous new fixture that’s just what I wanted, aesthetically and in a new skill: restoration rewiring!
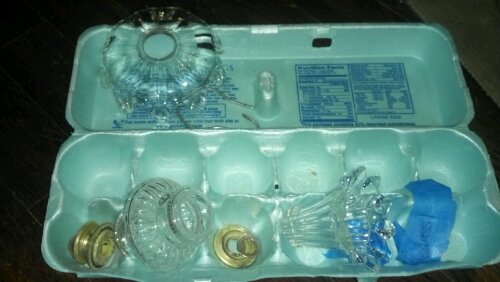
Egg carton, good. Photos of how it goes together, better
