Ease Your Panes – Window Restoration Class Comes to Des Moines April 2, 2014
 Hatton House is hosting a window restoration class for the Des Moines Rehabbers Club. I’ve wanted to take a class like this since we bought this house, and after a year of planning, it’s finally coming to fruition right in my backyard…er…middle parlor! The class will be taught by David Wadsworth of Decorah, Iowa, and will be a hands on workshop where people will have the chance to work on donated windows and learn the ins and outs of window restoration.
Why did I want this class? Original restored windows with storms have a higher R value than replacement windows, but the cost of hiring someone to restore them would be cost prohibitive for us. $500-700 per window is unrealistic for a house/budget like ours. Learning to restore windows for roughly $40 in materials per window would be pretty easy to recoup a return on investment (especially in a house as drafty as ours!)
There are a few spots left at the class this Spring, so sign up today. Here’s the link: http://renovatedsm.org/class-announcement-restoring-wood-windows-with-david-wadsworth/ See you in a few weeks!
Stained Glass Class at the Des Moines Art Center March 8, 2014
 I took the stained glass class at the Des Moines Art Center about 15 years ago, before we had kids, before we had an historic home. I mostly paid attention to the stained glass technique called “foiling” which is better suited for small projects, as opposed to leaded glass, which is better for larger windows like I want to do in the Hatton House. So when my parents asked what I wanted for my birthday/Hanukkah, the answer was easy: Stained Glass Class!
Turns out, it’s the same teacher still teaching at the Art Center, Jerry Goodrich, who was very supportive in my crazy idea to do a 12×27″ transom window in the scope of a six week class, especially after over a decade break in glass work. I free-hand drew an adaptation of the Keith family crest, altering it from the typical vertical to horizontal. The glass cutting and grinding came back fast enough, but this was my first project in lead, the that was more tricky than I bargained for. After much cursing and one last minute broken piece, it came together nicely. I still need to cement it, and I haven’t decided if I’m going to add the family motto “Veritas Vincit” in the white banner, but here’s the first of six transoms I want to do in the house!
Researching Your Home’s History & Abstract Party
We’ve been very busy working on stained glass and a window restoration event for this Spring and have neglected the blog. My apologies! More updates coming soon, but you should join us at today’s Des Moines Rehabber’s Club event “Researching Your Home’s History & Abstract Party.” Their facebook event is here:
https://www.facebook.com/events/267692790061492/
See you there!
The Front Door Finishing December 13, 2013

The doors, after sanding to even out the finish, no shellac yet.
When we bought the Hatton House, there was a gorgeous door already in place, however it was painted on the exterior, but in a horrifying state of unfinished on the interior. Someone had stained the door with a single layer of stain, but they’d done in haphazardly, so that parts of the door had no stain at all, and parts of the door had stain pooled into corners and left to permanently damage the color of the wood. I stared at this door for two years, trying to sort out how I was going to attack it. I have tried to avoid using heavy duty strippers, and I couldn’t sand away the spots where stain had collected. I decided to try to finesse the coloring in the wood in combination with removing the dark spots where I could.
I started with a light sanding of 200 grit paper to take the dirt and hopefully even out some of the variation in color from the stain job. It didn’t take out all the color variation, especially in the window muntin corners, but it helped, and I hoped would be enough once I blended it with the shellac. Several people I’ve talked to use colorants in their shellac, but I opted for pure shellac and a stain coat from General Finishes Gel Stain in color Java.

This is what we were up against: stain on the face of the muntins, but not the sides, except where it pooled to almost black in the corners.
I coated the doors with a thin coat of shellac, followed by a coat of stain in areas that needed to be darkened. It was a bit tricky, feathering in the stain over the areas that got too dark in the previous owner’s coating. Each coat took about 90-120 minutes per door, as it took so much time to coat all the surfaces around the window panes without completely trashing the stained glass. Once I was happy that the color was as balanced as it could be, I alternated coats of shellac with extra fine steel wool until I’d built up a nice sheen. I think there were three cycles of shellac by the end of it.
The end result is pretty great. I love how the shellac pulls out the grain in the wood, and I think the variations in stain are to the point where they look like aging more than mistakes (that’s what I’ll tell myself at least). I used denatured alcohol to lift some of the wax from the trim around the door, and I’m pretty confident that with a little work in the spring, the trim can be brought to look just as great as the door does. Stay tuned….now that I’m getting more confident with wood working projects, it may be time to tear into the endless supply of those projects.

The finished product. Completed doors that look amazing (but don’t photograph well) in the daylight.
Restoring the Hatton House Windows, Part 1 of 572 December 12, 2013

Rope caulk pushed into our drafty windows has made a huge difference.
This past weekend, we hosted the Des Moines Rehabbers Club monthly meeting to talk about our many window projects. I’d posted on Facebook a few times about my project refinishing the front doors, and that I was a bit overwhelmed thinking about all the windows. Since we offer an example of just about every type of window issue, it was suggested that we meet here and talk about window projects.
A helpful summary of the meeting is posted on the Renovate DSM website here. The meeting brought us a great deal of clarity, breaking down the various projects into where we could start working immediately, and ideas for how to solve the issues most frustrating to me. I left the meeting feeling like I had all the information needed in order to get started on the windows I had already diagnosed.
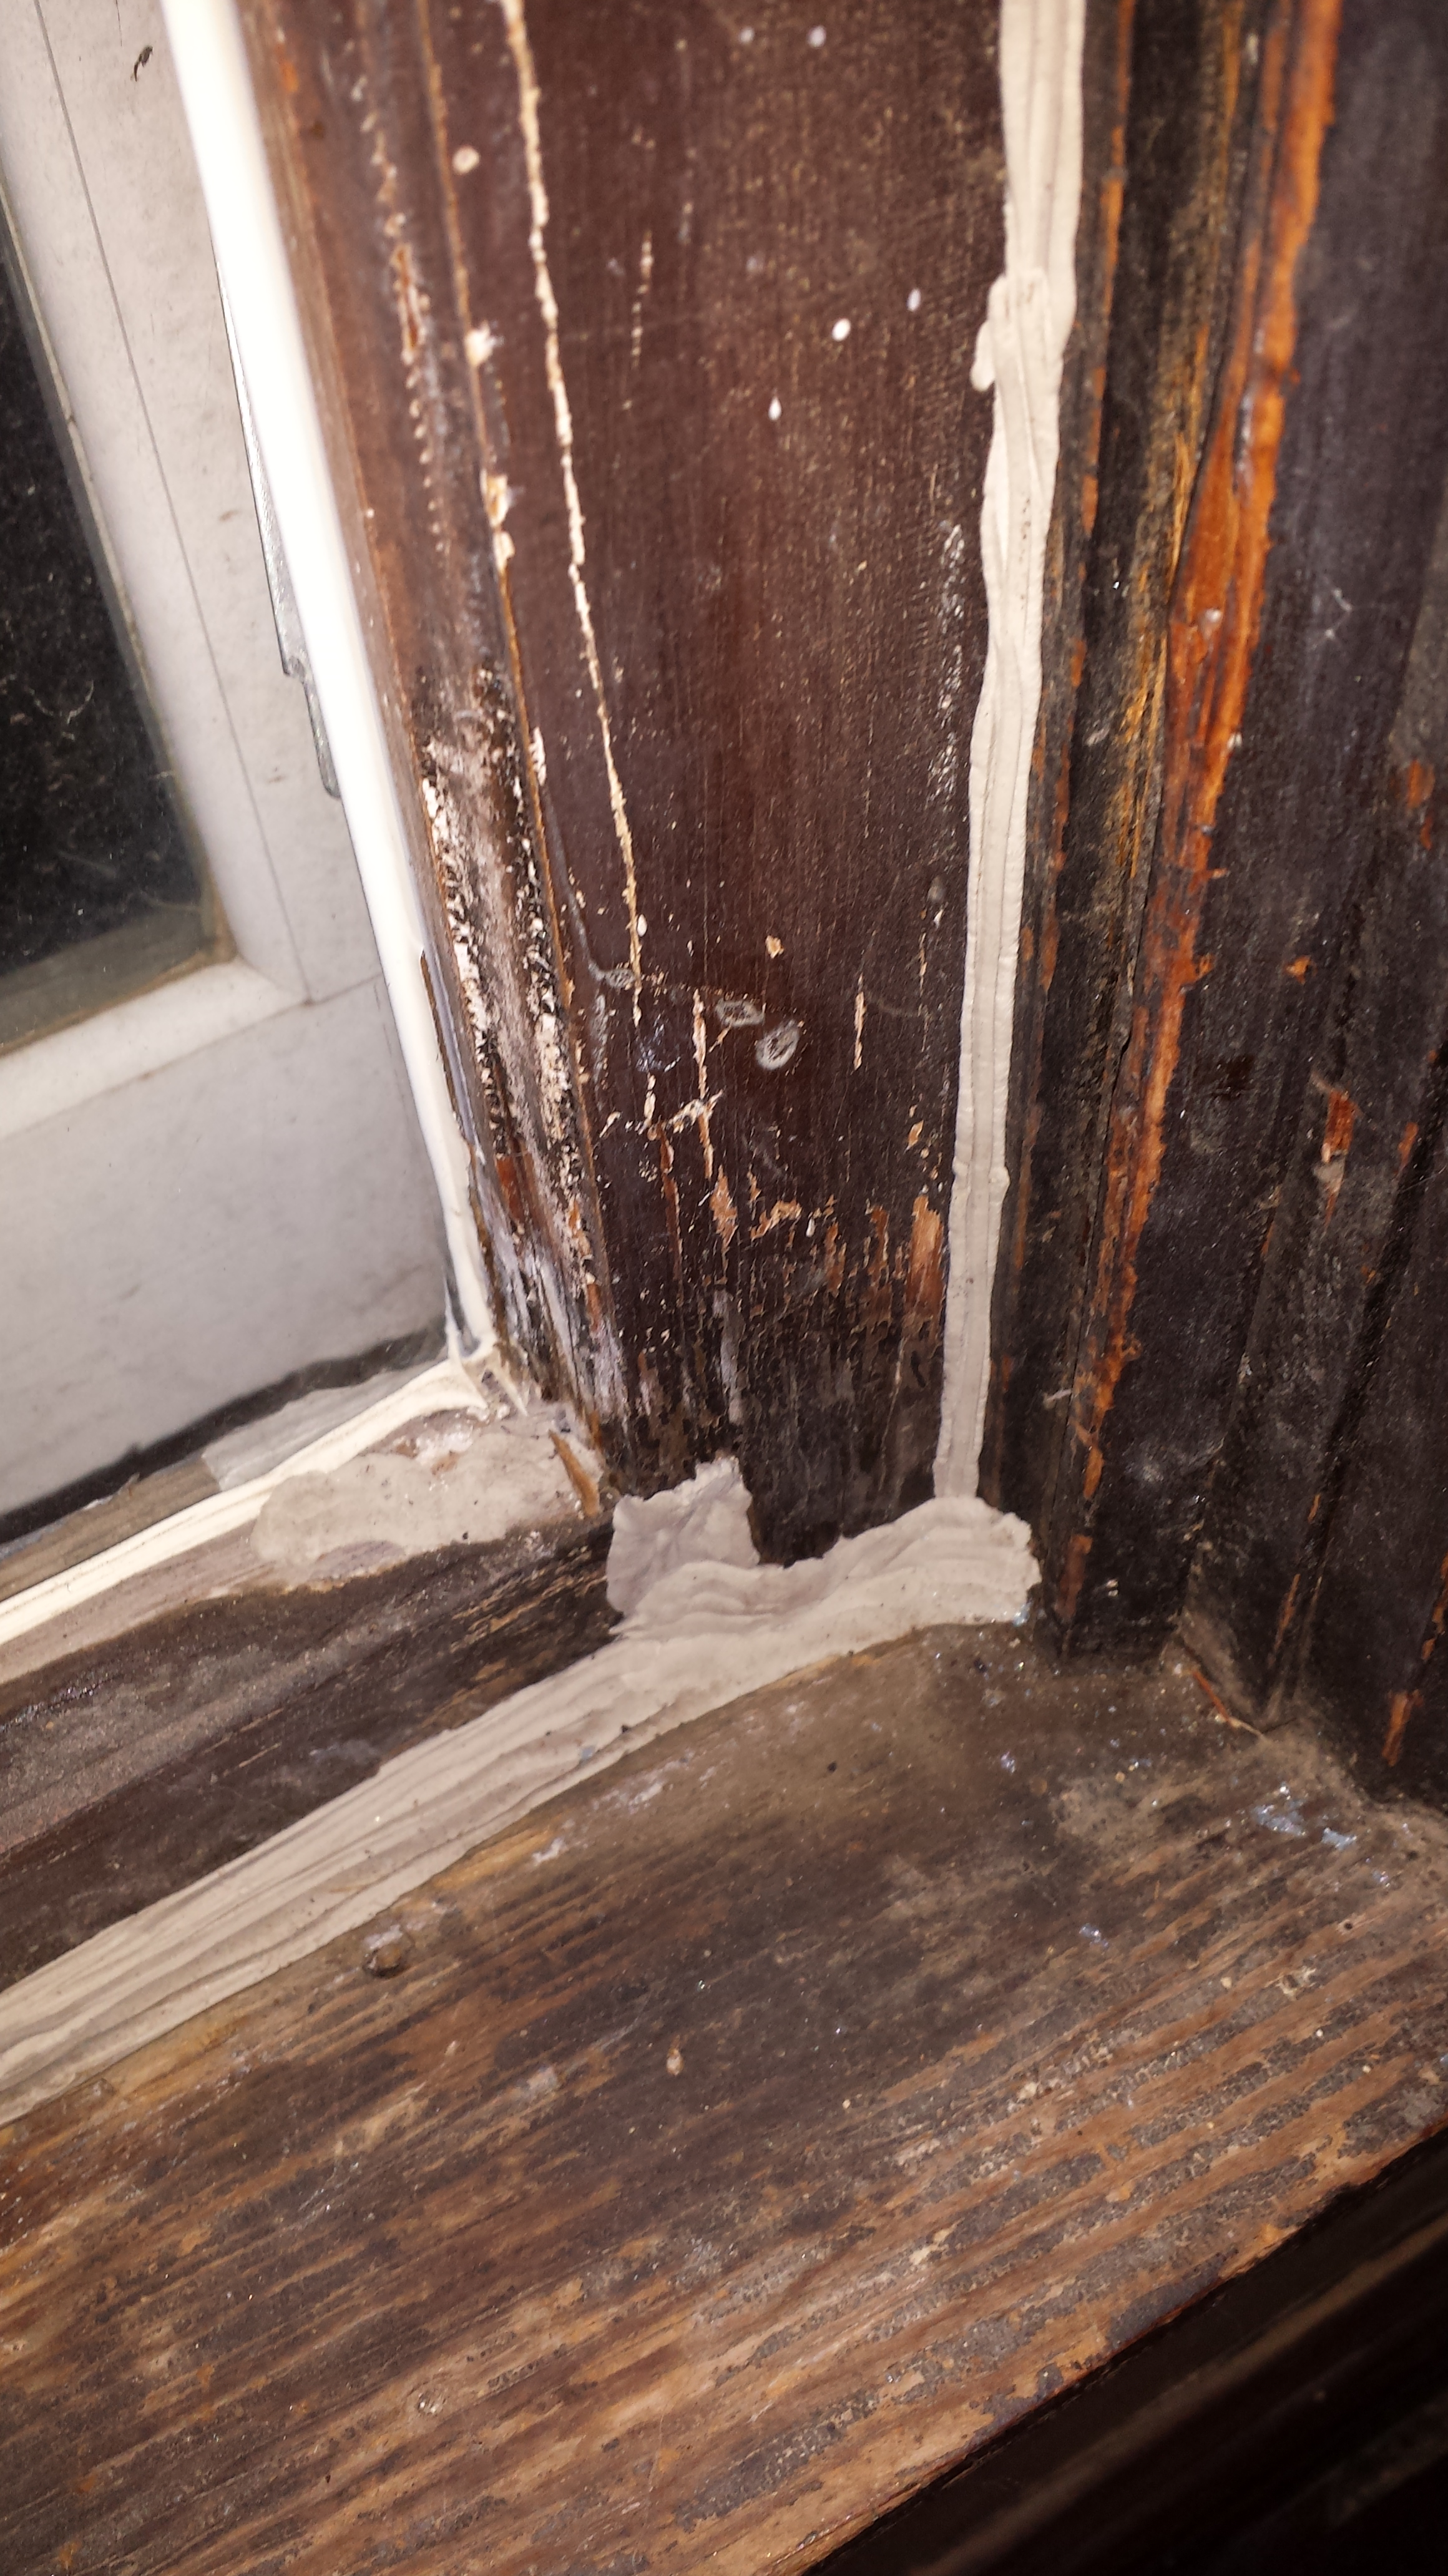
Very drafty windows require approximately one metric ton of rope caulk.
While we couldn’t sensibly take the windows out to work on them in the middle of winter, one of the things we talked about was rope caulk, a slightly stiffer than silly putty substance that can be used to seal up drafty windows. I bought a box that was supposed to cover seven windows, which ended up covering about three of our extra drafty windows. The impact was immediate, making the rooms we did significantly warmer right away. In fact, once we got one room done, it made the room across from it more drafty, so if you do this in your house, be prepared to go all in. Our heating bills have been completely ridiculous, so we’re hoping this has a big impact on our energy bill as quickly as it squelched the drafts. On to project 2 of 572!
Cats and Dogs, Living Together, Mass Hysteria December 11, 2013

Ember wants nothing to do with Maggie the Dog
My friend Mike visited from Indiana this past weekend, and his dog Maggie came with him. Maggie is a very sweet dog, who lives her life dominated by the cats she lives with, so what could go wrong? Surely our cats could handle this visit?
Mike arrived, Maggie in tow, and our elderly cat, Rufus glared and sauntered off. Okay, not so bad. Then Maggie turned toward the front parlor, and a great commotion was heard. Ember and Pumpernickel took one look at Maggie and decided she was not for them. Pumpernickel took off in a streak of white. Ember, on the other hand, had other ideas. She ran up the drapes as if they were flat on the ground, only stopping when she was hanging from the window trim eight feet off the floor. She hung up there hissing, even as I climbed, shoes on furniture and tried to rescue her from her perch. This scene ended with me pulling Ember and the drapes off the window, followed by Ember launching herself off my shoulder in a single leap that seemed to propel her from the front parlor to the back upstairs laundry, where she stayed, almost exclusively, for the duration of Mike and Maggie’s visit. This will be the event I think of, whenever I hear the Ghostbusters line about cats and dogs living together. It really is mass hysteria.
There Weren’t Enough Kittens on the Internet
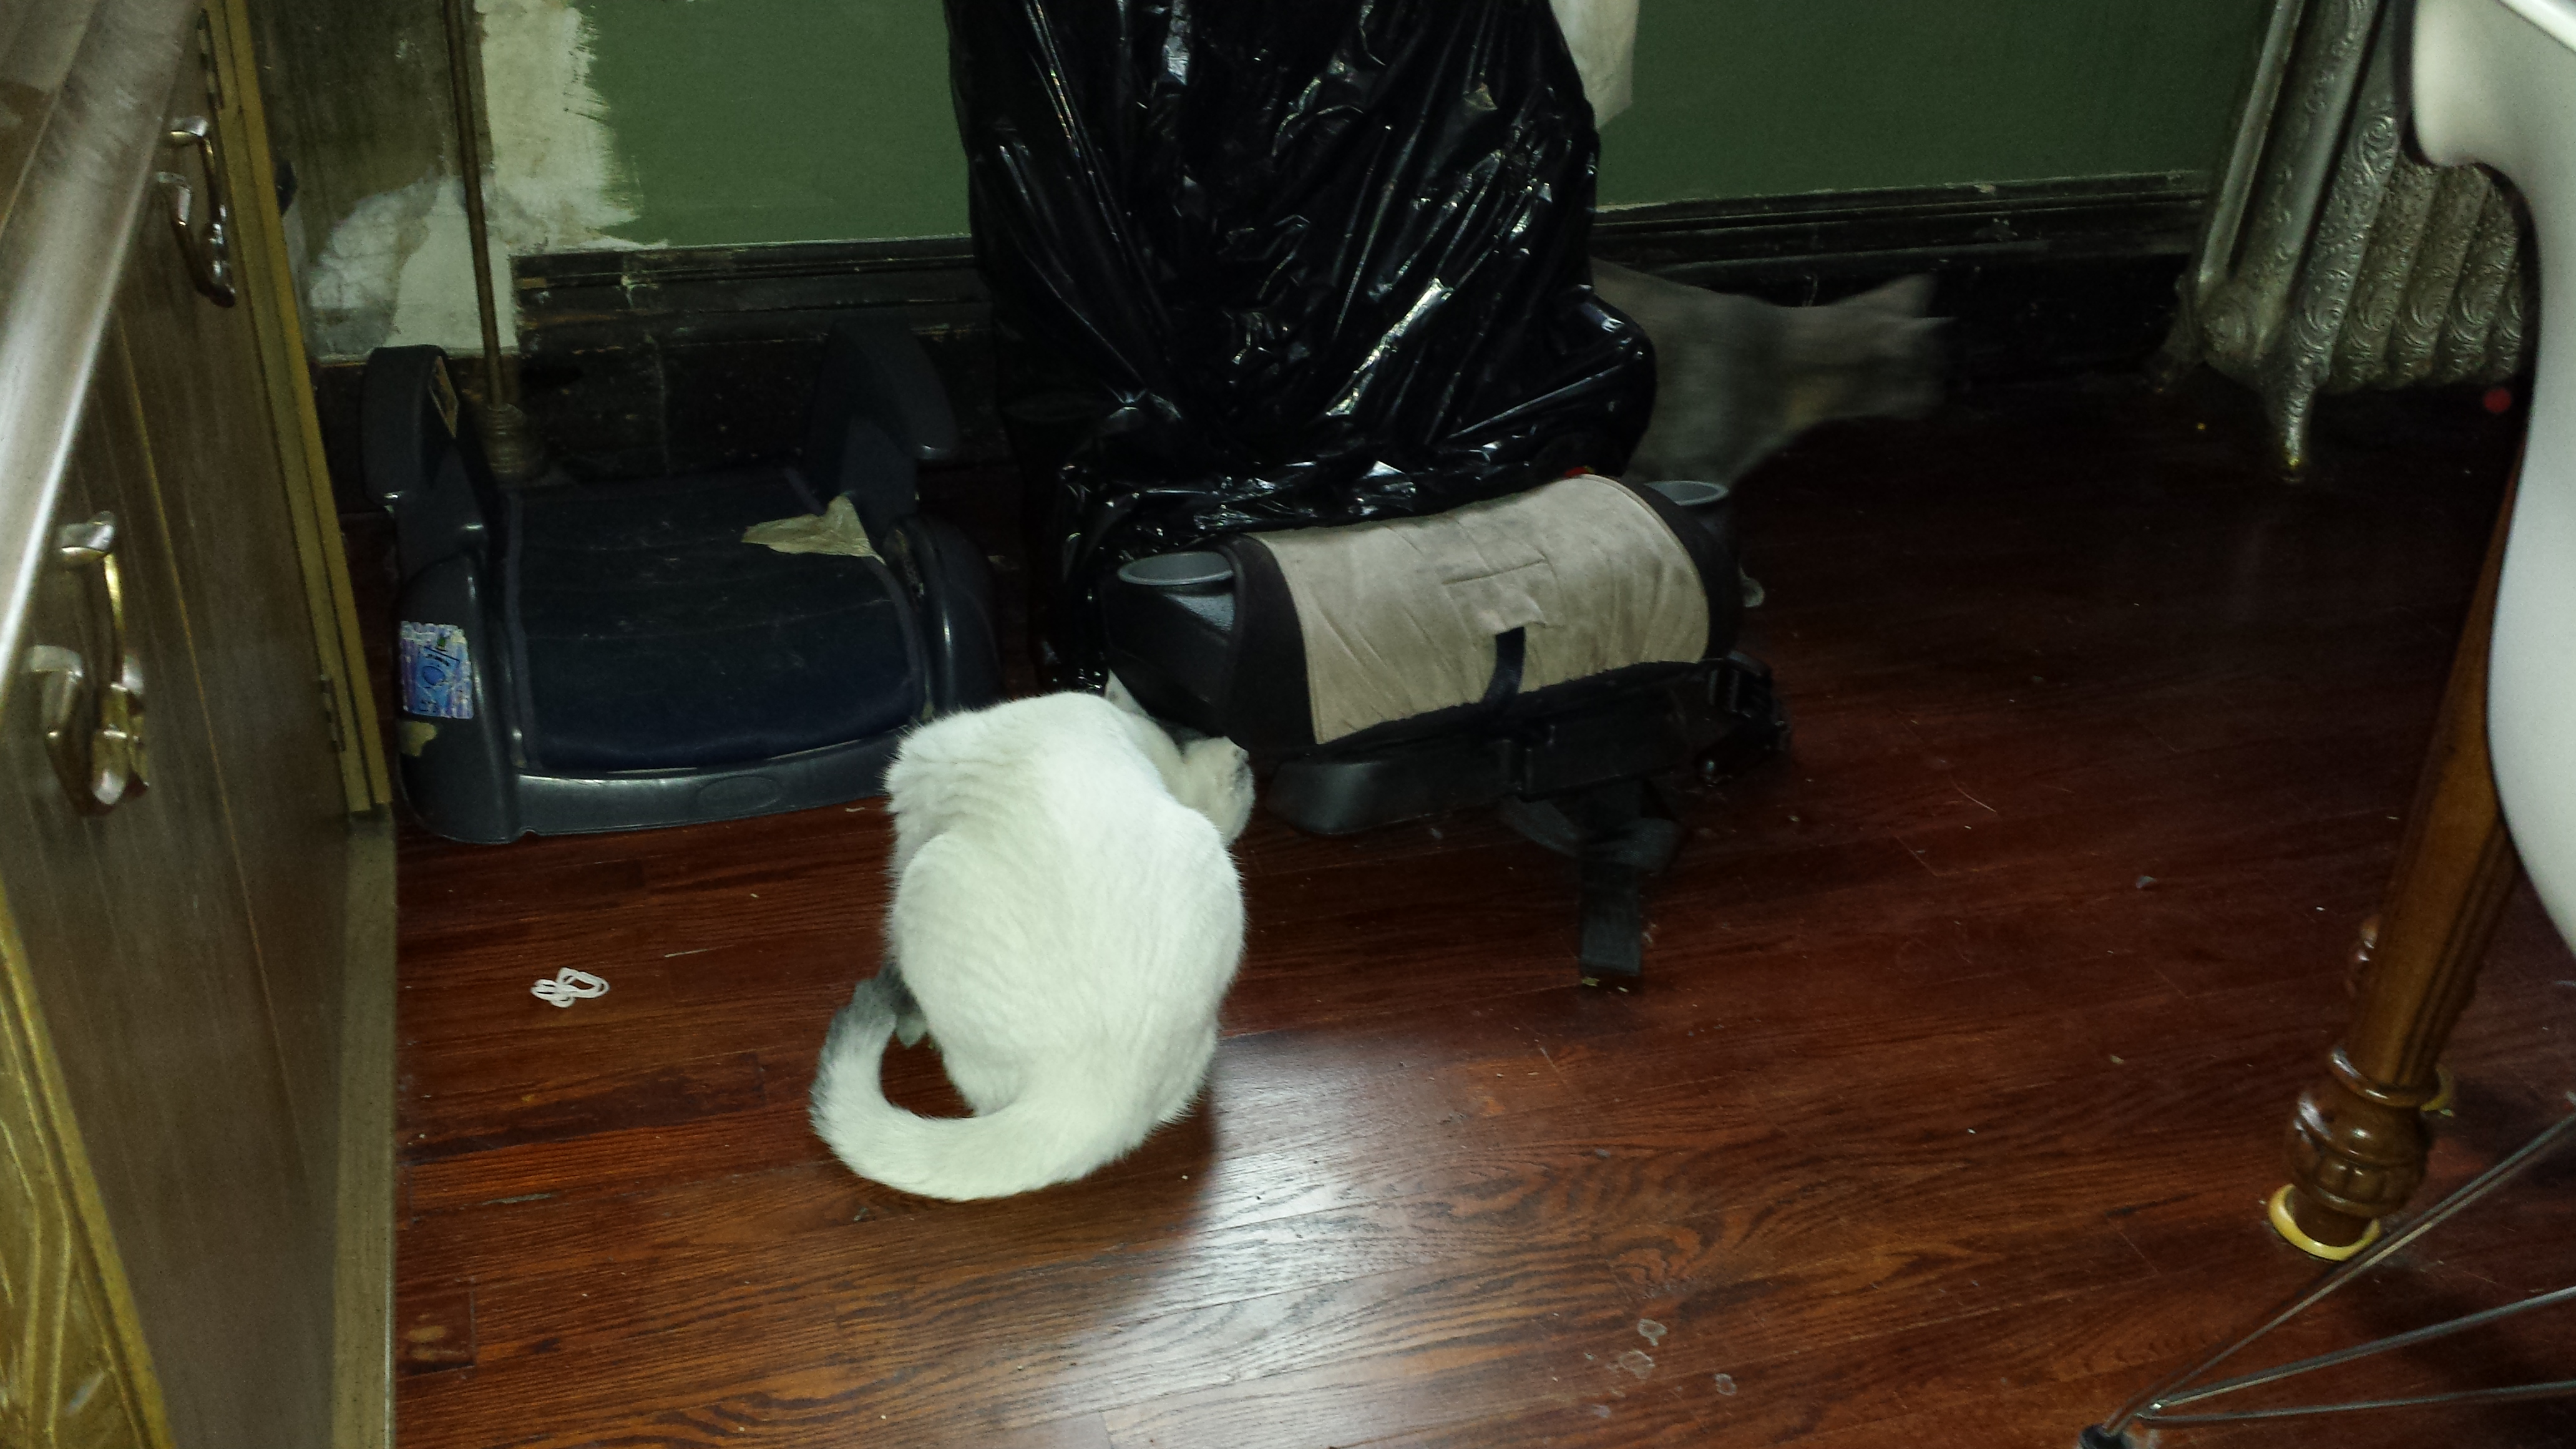
The cats hunt down a mouse tag team style.
So we decided to add an update about the kittens we adopted a while back from the Animal Rescue League. We’ve since started fostering kittens for the Panora Animal Shelter, but those kitties keep getting adopted before we can post photos of them. Let us know if you’re looking for a new furry friend. As you can see, we train excellent old house cats (or we happen to be standing nearby when many kittens become awesome cats).

As if drafty windows weren’t costing us enough, now Pumpernickel has learned to turn on the faucet.

Pumpernickel loves to snuggle. This daily behavior his earned him the nickname “Productivity Killer”.
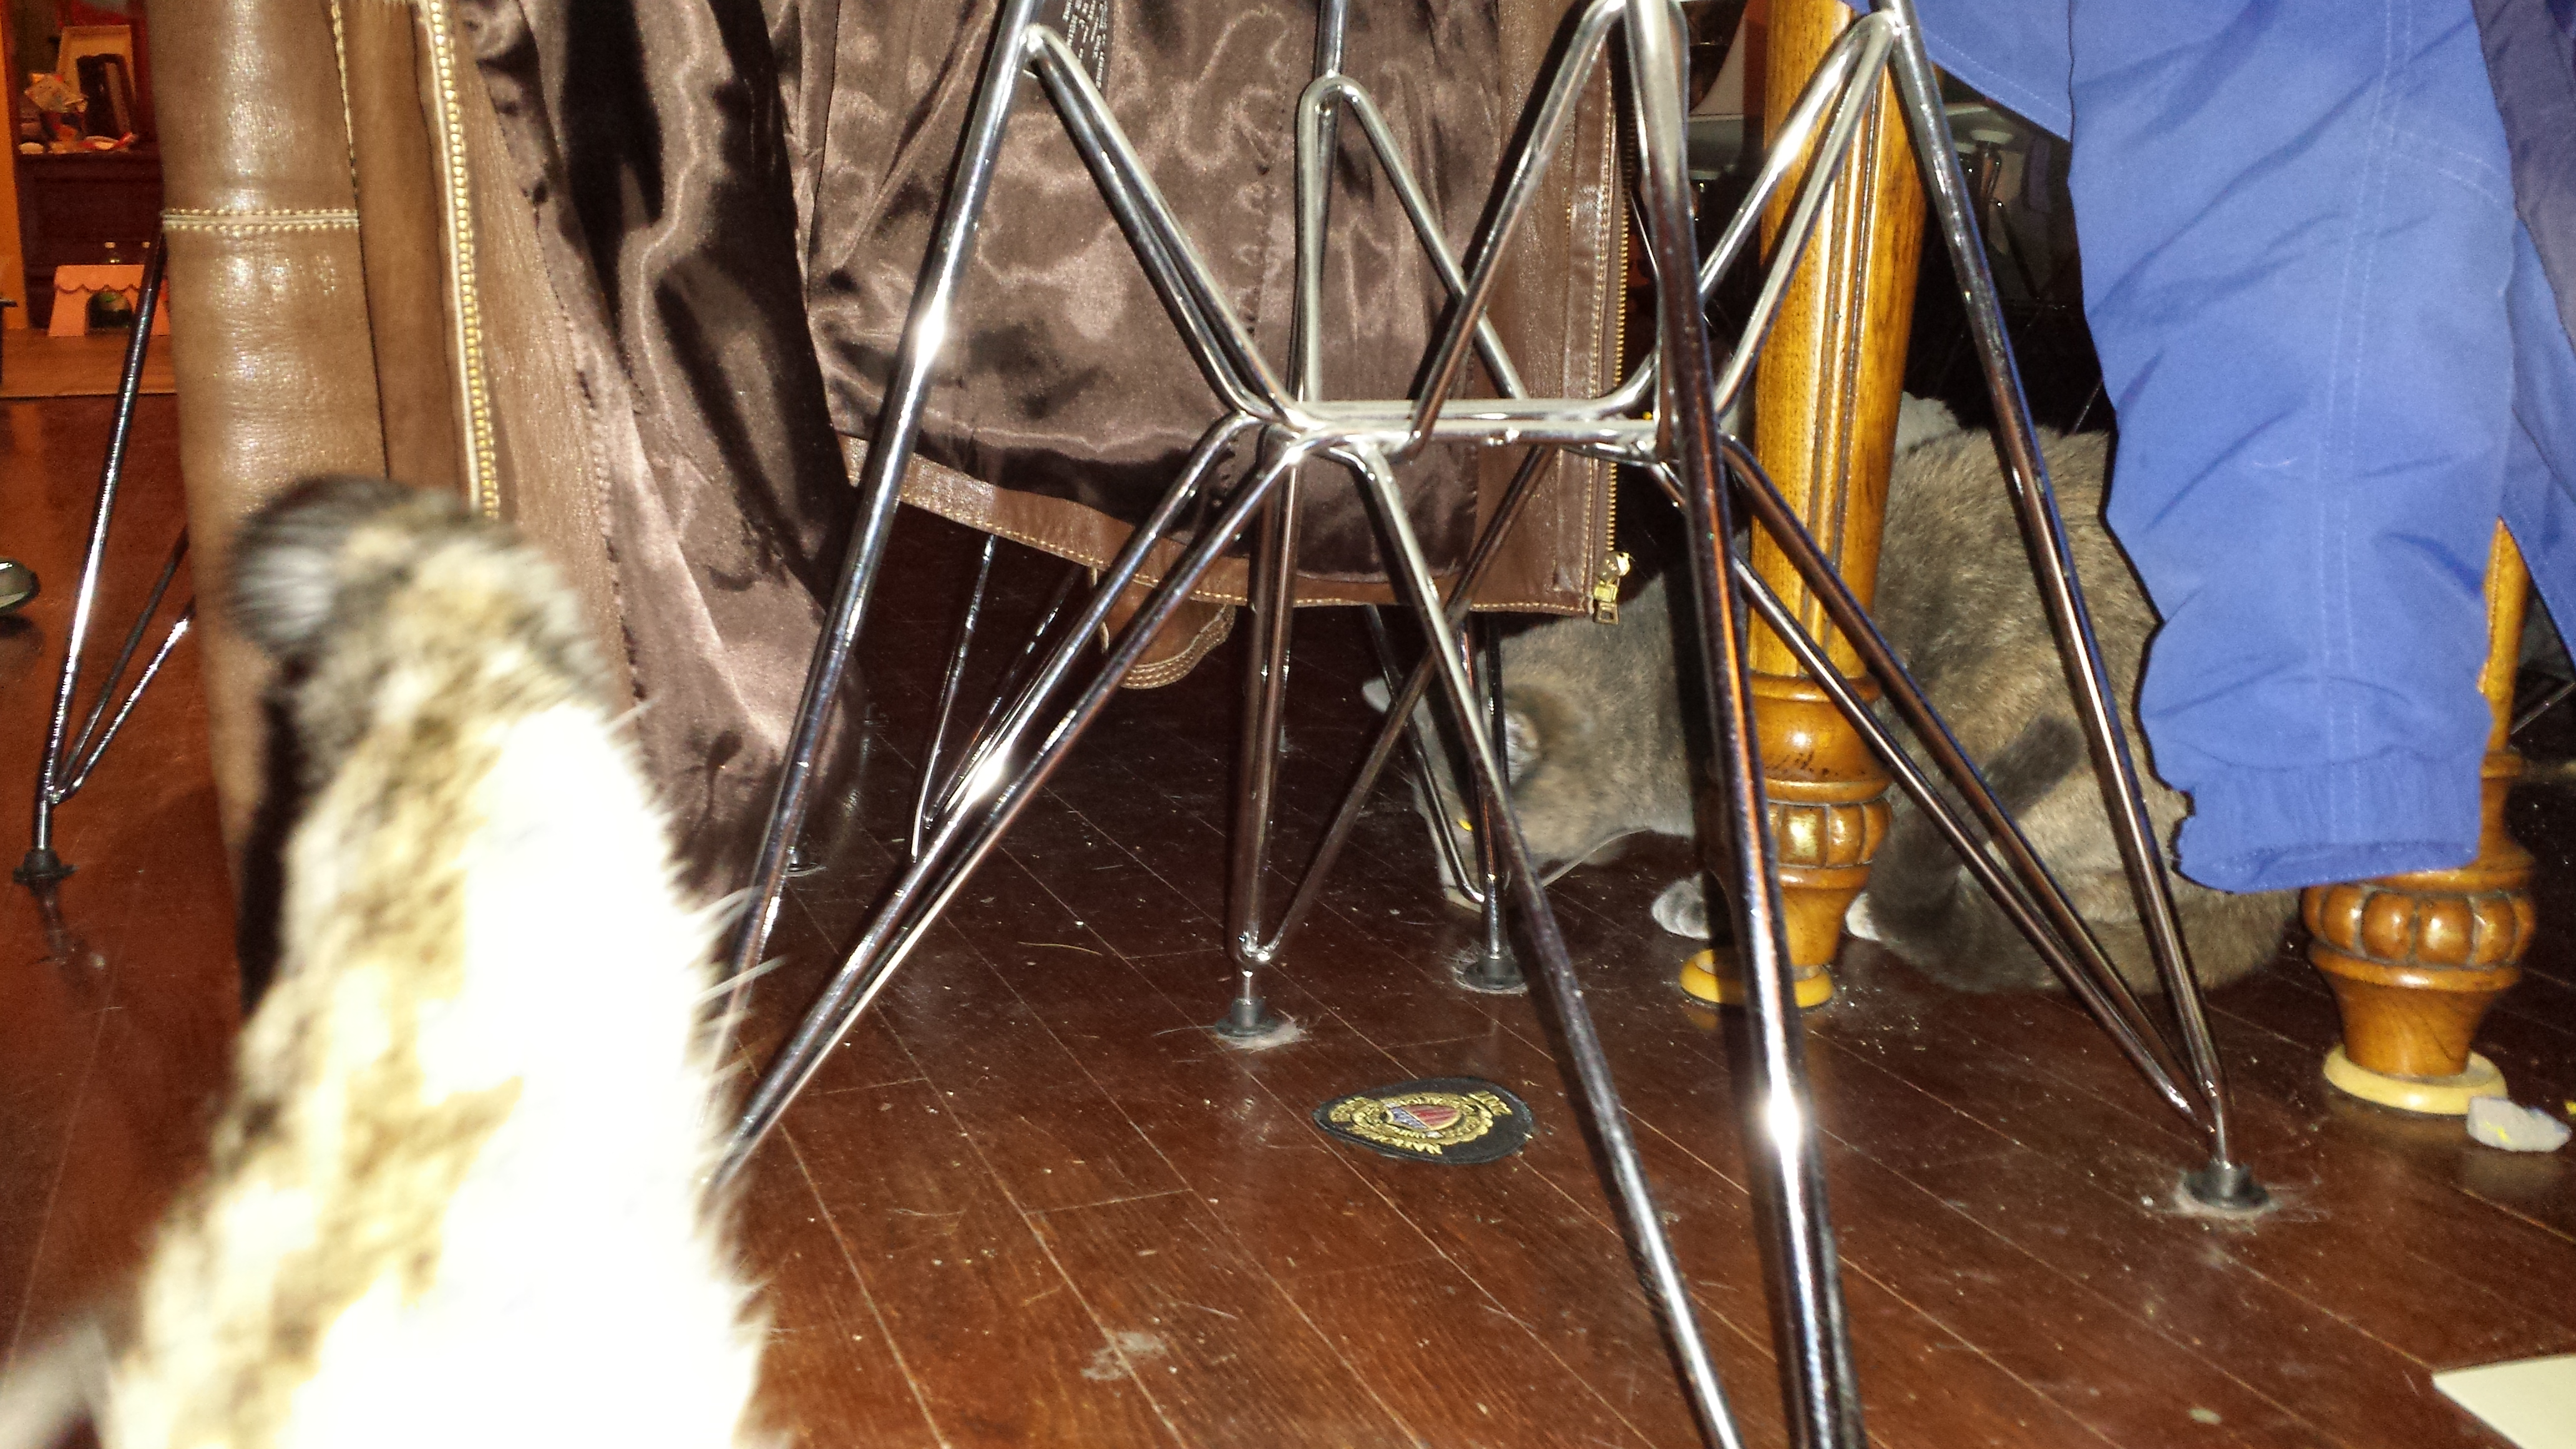
Mouse…caught, soon to be relocated outdoors.
Stay of Execution – Chicken Style December 9, 2013
 It’s been a while since I wrote about the chickens. They did well over the summer, but had a serious drop off in egg laying, going from 9-10 eggs a day to 3-4 eggs per day, with a major disturbance in late October, when a hawk took off with two of our girls, including one of our two Ameraucanas (we didn’t see it, but heard about it from a neighbor).
Trouble is, we haven’t had a green egg since mid Summer, which has led to discussions that our surviving Ameraucana had perhaps lived out her laying days, and maybe she should be harvested for soup. This plan did not sit well with the kids, and was really a plan we should have ahem…executed… while it was warm out. We tabled the discussion for a while.
Imagine my surprise today when I went out to feed the chickens the party leftovers from the weekend and they pre-emptively rewarded my treats with four eggs, including one green one! I forgot how beautiful these eggs are. I’m not really sure why there was such a long break, or if she’ll keep laying, but I’m happy to have a green egg back, and convinced that when we get chicks in the Spring, we’ll pick up some more Ameraucanas.

Delicious party leftovers! Everybody gets to celebrate!
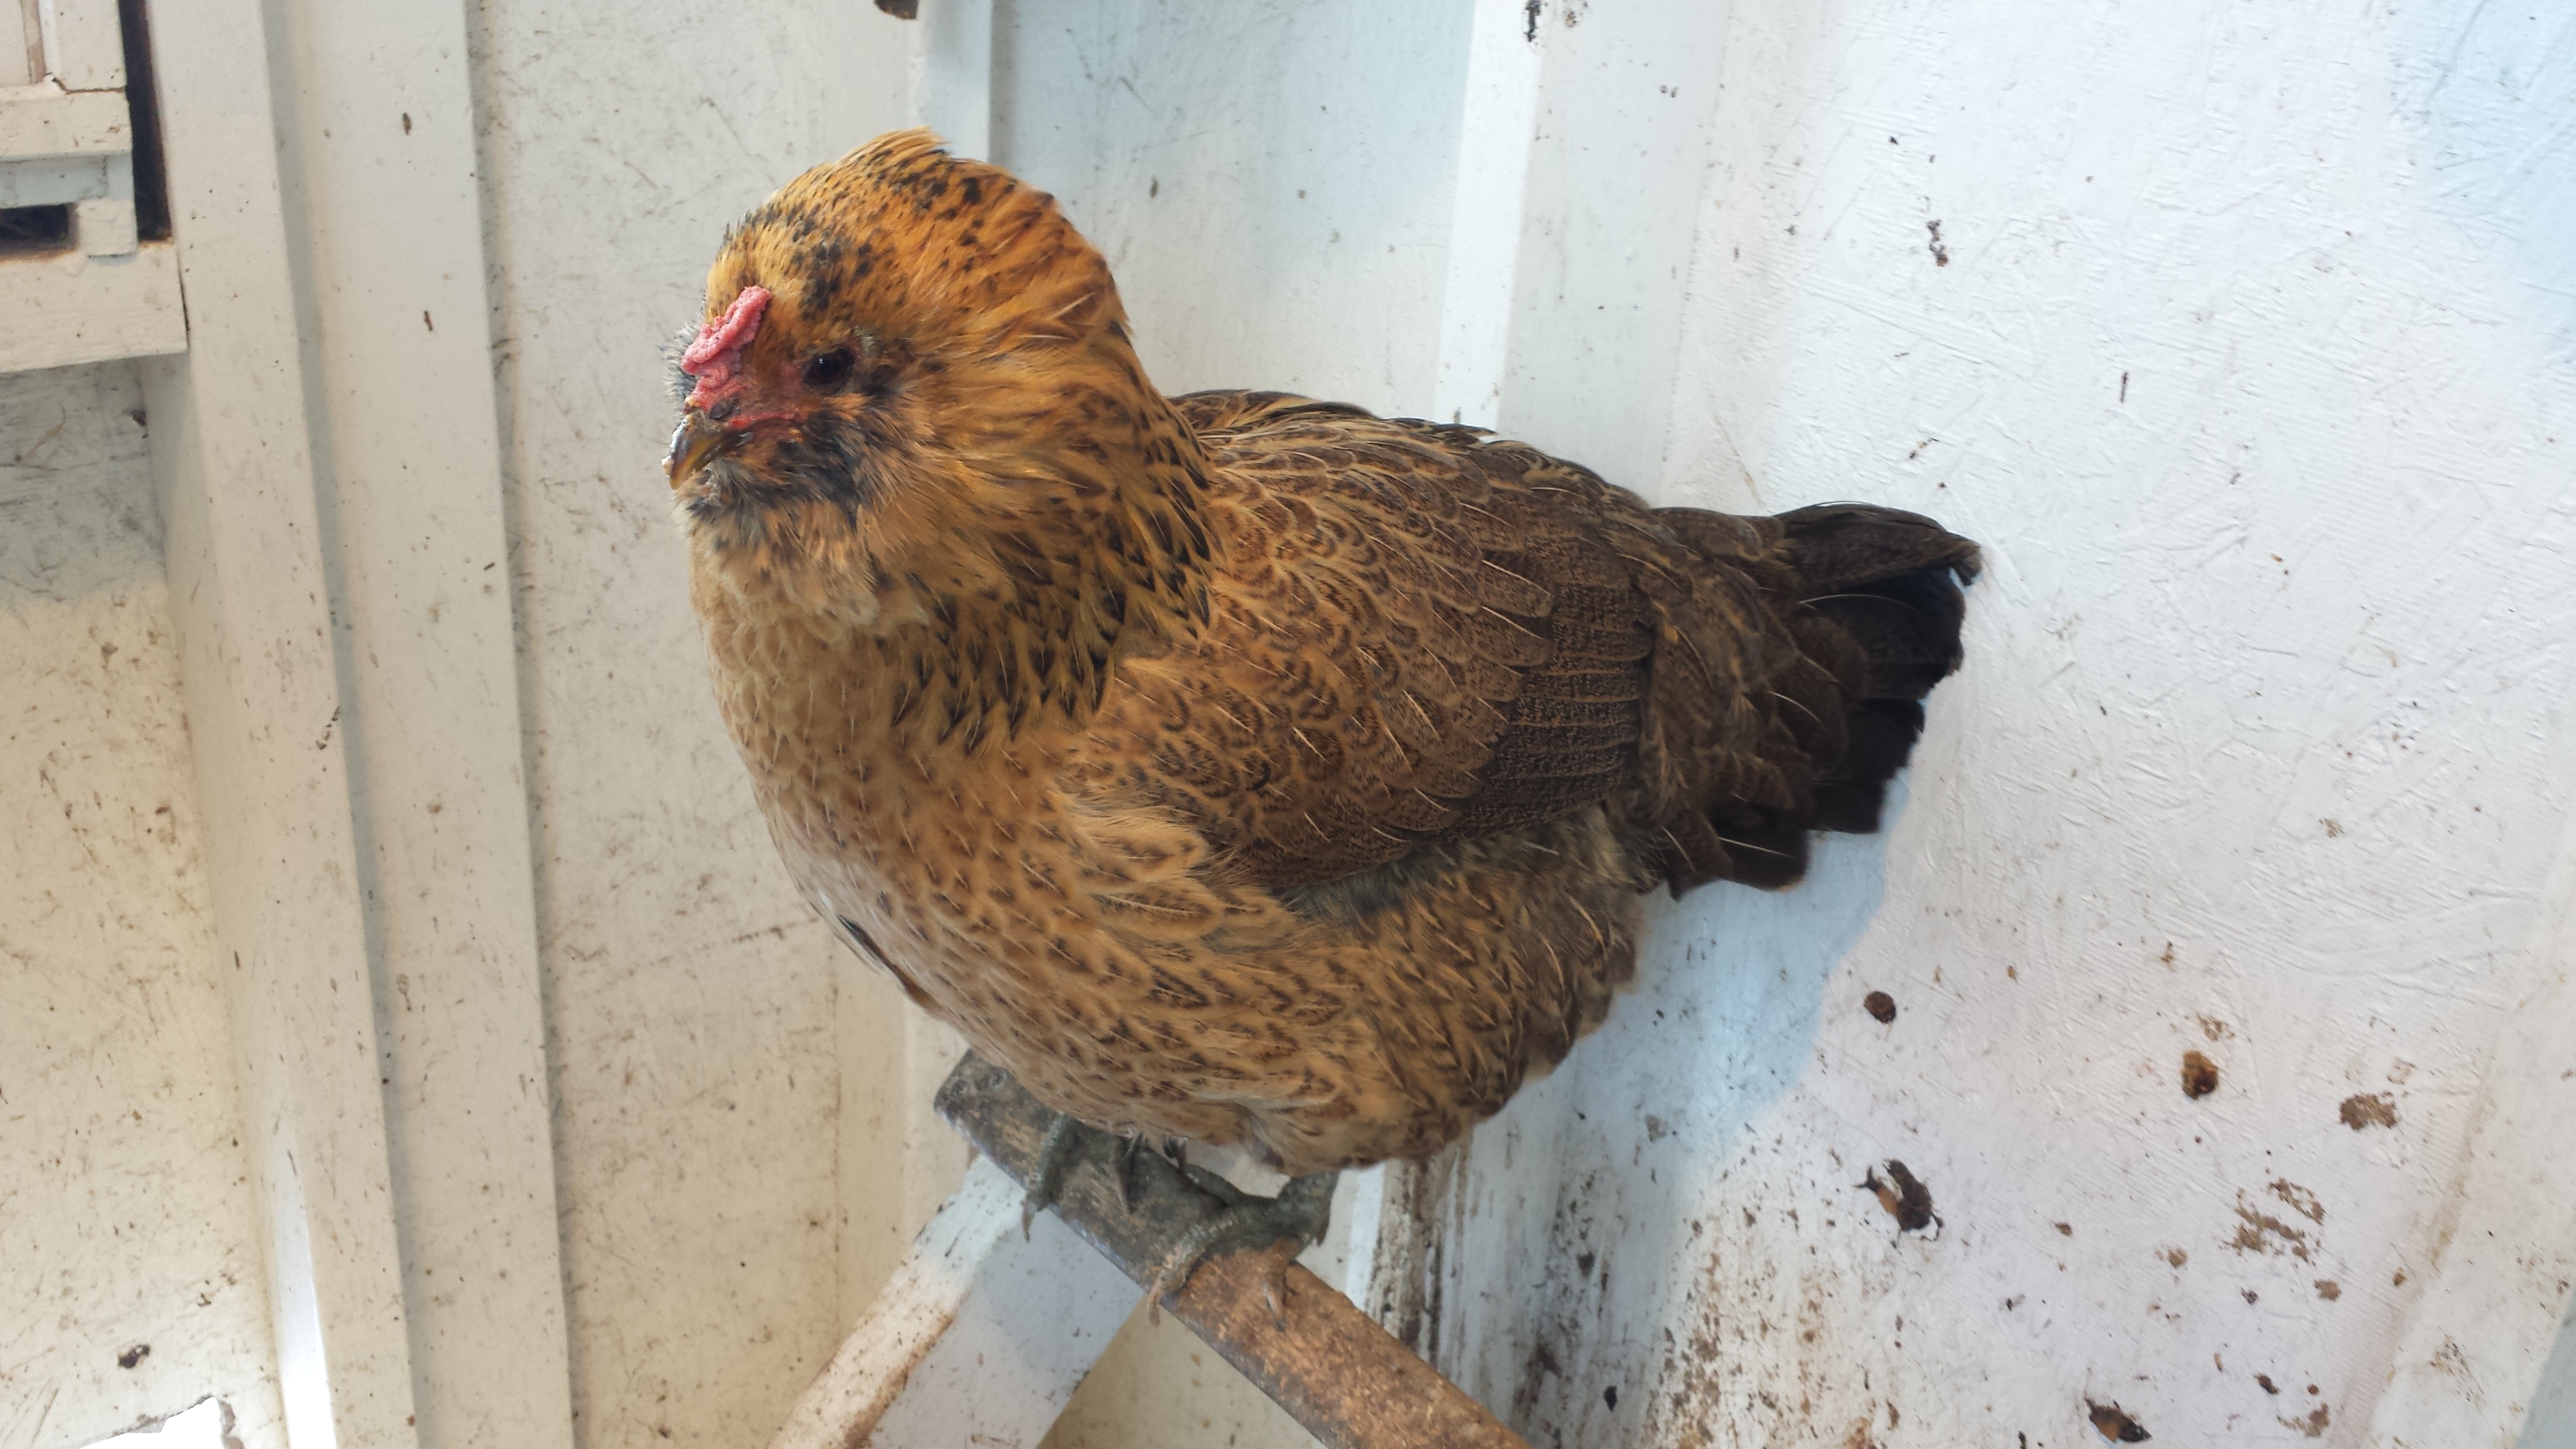
Sing it with me…”I will survive! Oh as long as I know how to lay I know I’ll stay alive!”
The Soccer Room
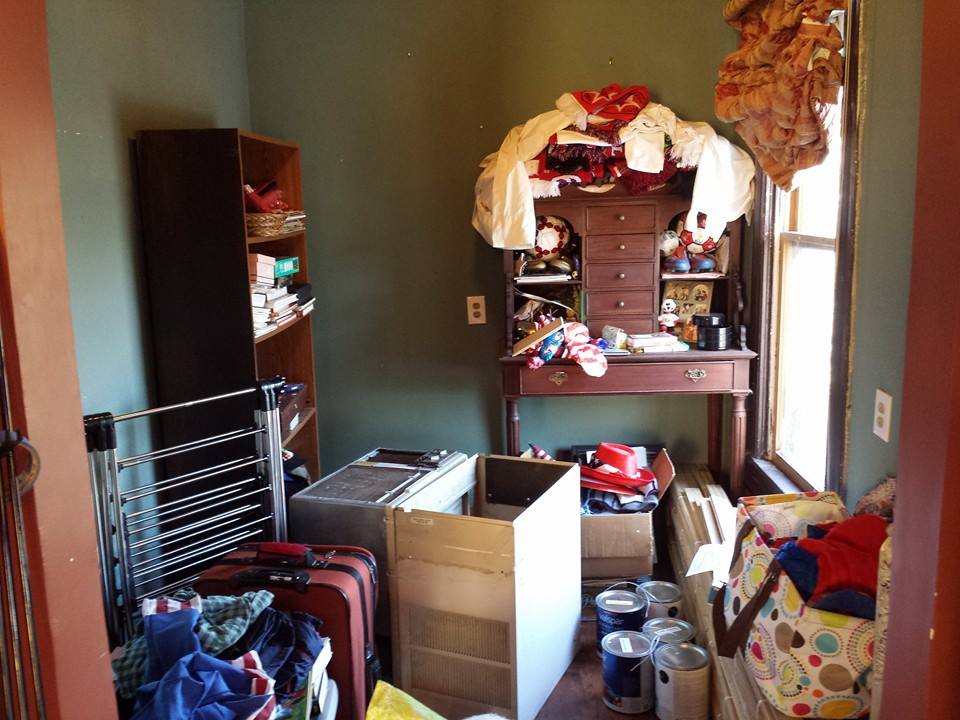
The before photo, try not to judge.
There have been a few happy bonuses of the Minimalism Game, a project in which we spent the month of November decluttering. Once I started clearing out our clutter, it allowed me to see things differently. The decluttering itself freed up some space in the last corner of unpacking the house from our move two years ago, and what I was able to sell totaled about $600. Suddenly, the project of finishing the soccer shrine in the alcove off our bedroom didn’t seen to insurmountable, with space cleared and a budget for paint and poster frames.
We finally got the air conditioner moved back up to the attic for the winter, moved the spare wood flooring to the hallway for future project staging. Once we’d decluttered the main bedroom (part way at least!) we were able to rearrange the furniture to include the piece on the right into the main room. The bookcase on the left was in pretty bad shape, having entered the world as a fiber board covered cheapo that was harassed by years of projects and paint splatters and other abuses. We inherited it from the previous owners of the house, and decided it was better suited for use in the basement ceramics studio, so down the stairs it went. That allowed the boxes to move out long enough for painting, and Ikea cables to go up just below the ceiling line. Then the room started to come together.
Our collection of scarves went up around the top of the room, hung over the Ikea cables, and grouped by US game/tournament scarves, AO chapter scarves, club scarves, and international scarves. We moved the Stokke Keep shelving unit in to house our collection of signed jerseys, balls, shoes, and other assorted ephemera. I still have to find the official World Cup licensed condoms from 1998, and I need poster frames for a few pieces, and I thought I would transfer my pin collection to ribbons and hang those, and there’s a matter of rearranging the window treatments in the bedroom so this room has something that fits, but I’m pretty excited about the progress so far. You can follow our continued soccer adventures at my other blog, www.soccerfamilystyle.com.

That’s more like it! The soccer shrine coming together.

The 2013 qualifying set, the 2010 Total Jackassery scarf, and various Korea and Germany era scarves.

International scarves

Weird collections: the Germany hat I wore to my first USMNT game, and an ironic licensed beanie baby holding a collection of World Cup condoms. Oh, and unrelated CJ Sapong’s shoes.
